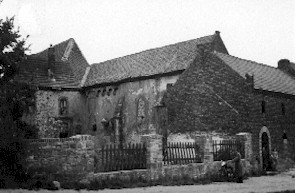
- This is an old
photo of Antonigartzem. In the middle you see the old church.
- (Photo Credit: R. D. Norbert Backmund, O.Praem., in the 1950s)
(Photo Credit: R. D. Norbert Backmund, O.Praem., in the
1950s)
- Cloister church and at left, the living quarters.
- (Photo Credit: R. D. Norbert Backmund, O.Praem., in the
1950s)
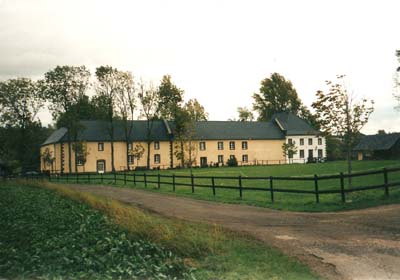
- General view of the surviving buildings - after the restauration.
- (Photo Credit: R. D. Ludger Horstkötter, O. Praem, 2003)
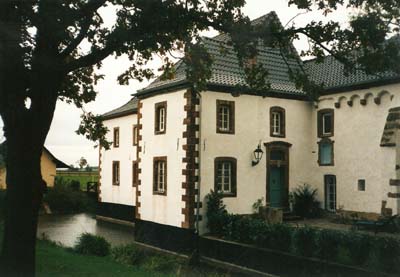
- Living quarters after the restauration.
- [Above the door is a stone with T - for St. Antony]
- (Photo Credit: R. D. Ludger Horstkötter, O. Praem, 2003)
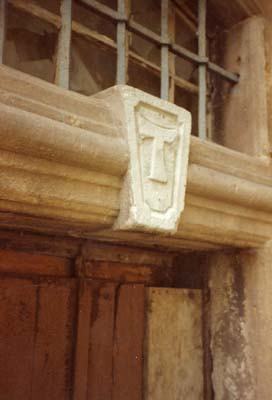
- Closeup of the stone mentioned above.
- (Photo Credit: R. D. Ludger Horstkötter, O. Praem, 2003)
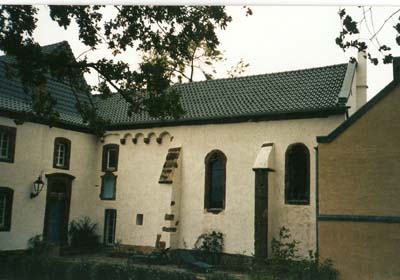
- Cloister church, and at left, the living quarters after the
restauration.
- (Photo Credit: R. D. Ludger Horstkötter, O. Praem, 2003)

- Keystone - 1713
- (Photo Credit: R. D. Ludger Horstkötter, O. Praem, 1983)
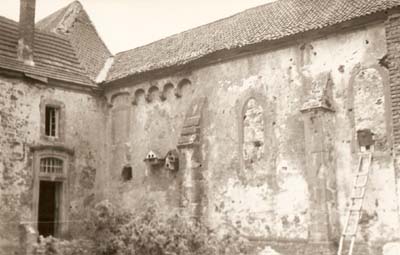
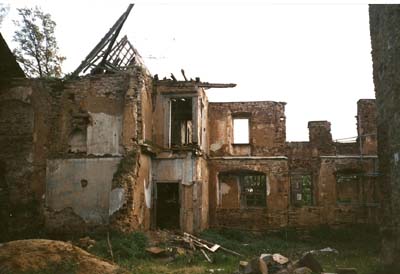
- The photos below show parts of the monastery
- destroyed by wind and weather.
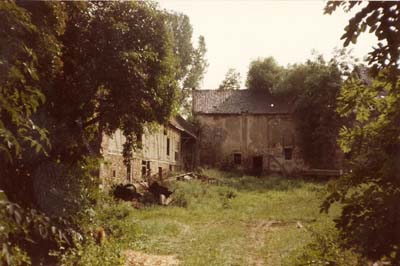
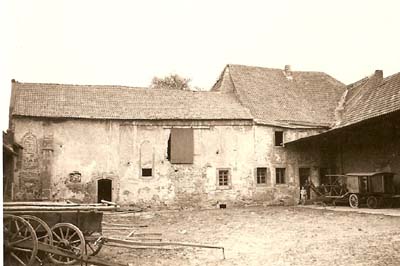
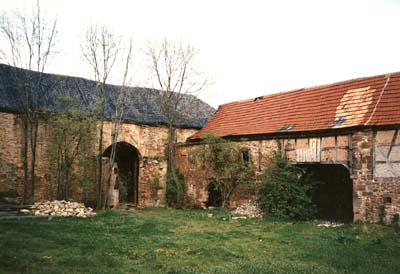
- Working areas and storehouses.
- (Photo Credit: R. D. Ludger Horstkötter, O. Praem, 1983)
- Working areas and storehouses
- (Photo Credit: R. D. Ludger Horstkötter, O. Praem, 1990)
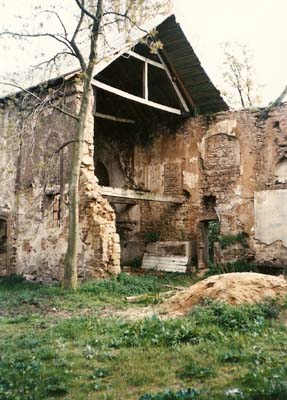
- Working areas and storehouses
- (Photo Credit: R. D. Ludger Horstkötter, O. Praem, 1990)
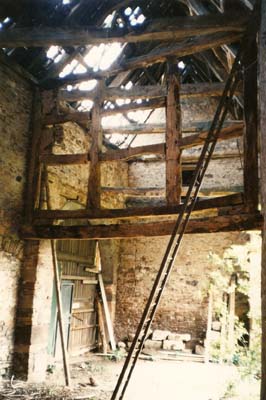
- Barn and loft
- (Photo Credit: R. D. Ludger Horstkötter, O. Praem, 1990)
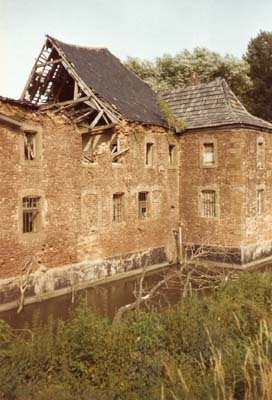
- Other monastery buildings
- (Photo Credit: R. D. Ludger Horstkötter, O. Praem, 1983)
- Other monastery buildings
- (Photo Credit: R. D. Ludger Horstkötter, O. Praem, 1990)
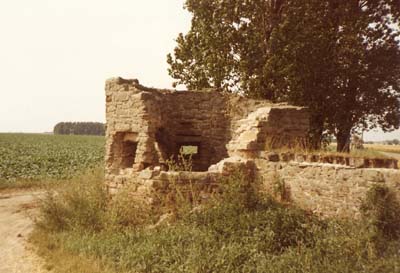
- Tower outside the monastery.
- (Photo Credit: R. D. Ludger Horstkötter, O. Praem, 1990)
|